HDSector Mirror | HDsector Proxy Sites And Alternatives
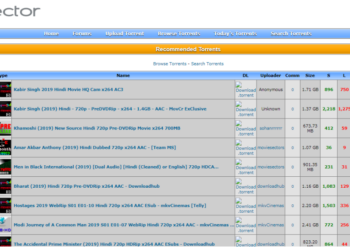
HDSector is an amazing torrent site. The site has been imparting notable Torrents for movies, TV suggests, Song, Apps, Ebooks,...

HDSector is an amazing torrent site. The site has been imparting notable Torrents for movies, TV suggests, Song, Apps, Ebooks,...

This post will explain Myflorida Access FL Login. On this page, you can discover Access Florida Login pages. This list...
MyFlixer is a streaming website that offers a large library of free movies and TV shows to users. It includes...

OnionPlay.co is a free online entertainment platform where users may view movies and TV series. Users do not need to...

Hurawatch is a no-ads free TV pay-TV show streaming service that allows you to watch premium totally free online TV...
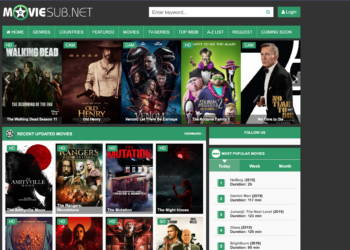
Are you seeking for a place to view a movie with subtitles? Moviesub is a well-known streaming platform for movies...
M4uFree is an excellent service for those who appreciate watching TV shows and movies online. This is a fantastic website...

Movieorca is a popular best sites to watch movies and tv shows for free for watching movies and TV episodes....